go-e Charger Home Assistant Integration: Setup, WebSocket and Solar Charging

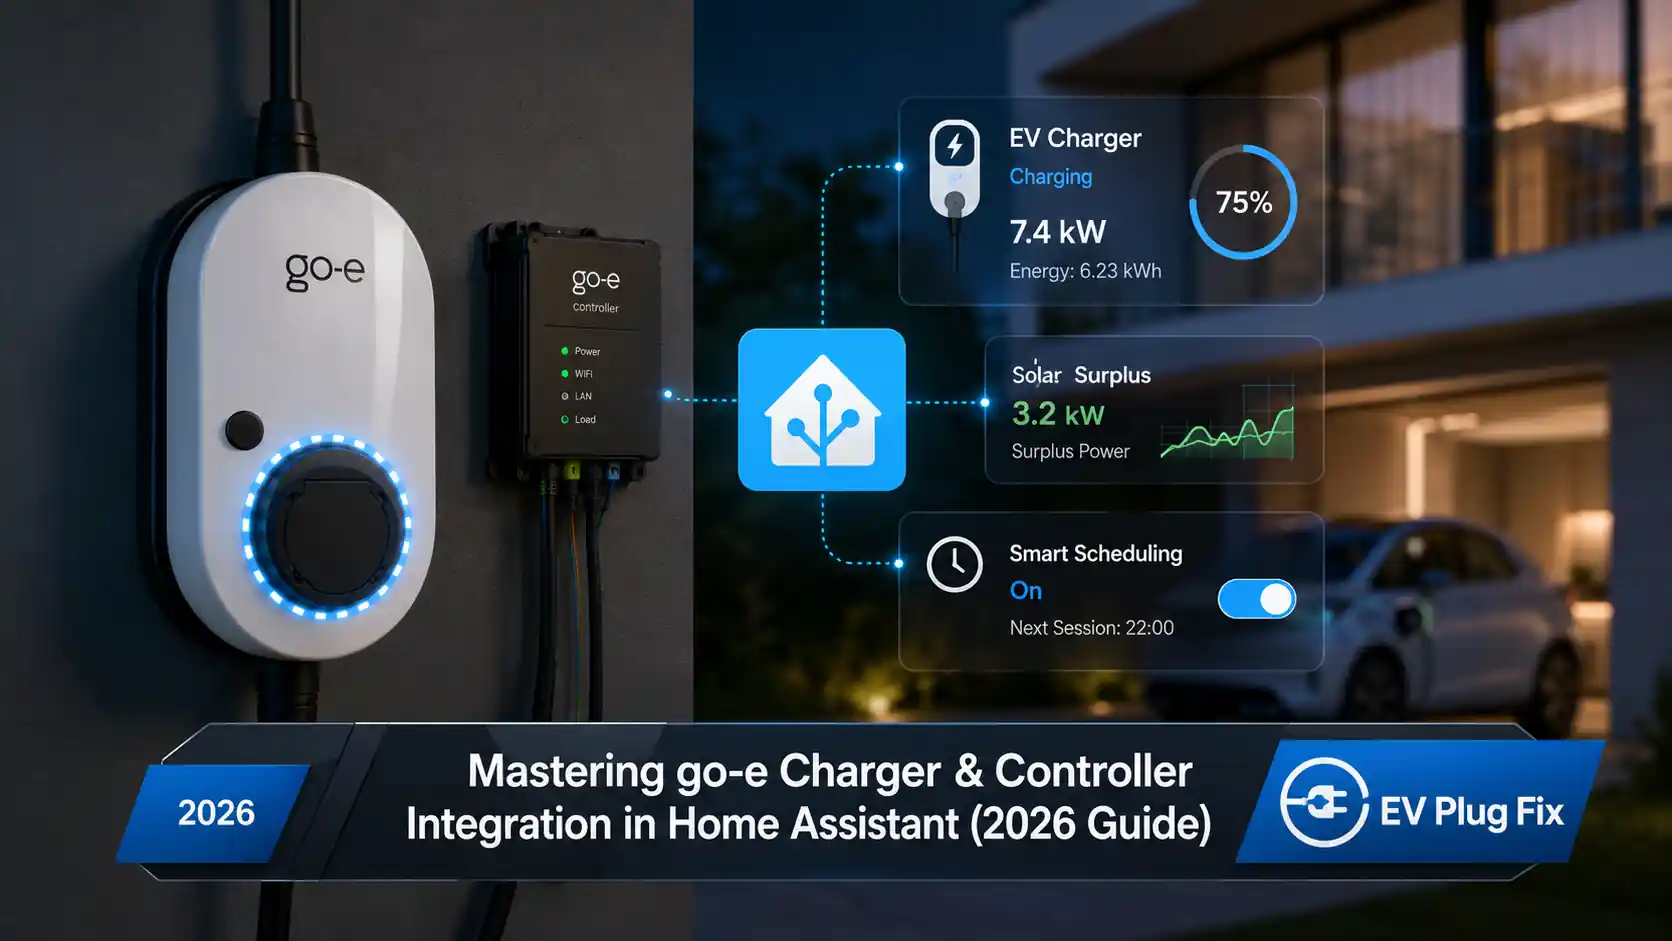
A go-e Charger can be integrated with Home Assistant for local monitoring, charging controls and solar-surplus automation. The most capable community route is go-e APIv2 Connect, a HACS custom integration that works with compatible go-e Chargers and the go-e Controller through API v2.
For most users, the practical setup is straightforward: enable local HTTP API v2 on the go-e device, install go-e APIv2 Connect through HACS, add the charger using its local IP address or hostname, then configure WebSocket communication or PV-surplus charging if you need those features. The integration is community-maintained rather than an official go-e or Home Assistant Core integration.
What You Need Before Starting
Compatibility depends on the API and firmware supported by the hardware. The integration’s current project requirements specify API v2 support, charger firmware 56.1 or later and, when adding a go-e Controller, controller firmware 1.1.1 or later. Firmware and integration requirements can change, so check the project’s current documentation if an older device refuses to connect.
Home Assistant also needs network access to the go-e device for local communication. HACS provides the simplest installation route for most installations, while manual installation in Home Assistant’s custom_components directory remains an option.
Enable Local API v2
Before adding the charger, enable Allow local HTTP API v2 in the go-e app’s connection and API settings. This provides the local interface used by the integration.
WebSocket operation is configured separately. In APIv2 Connect, supplying the charger password allows the integration to authenticate its WebSocket connection. Without that configuration, the integration can still communicate through the HTTP API.
Installing go-e APIv2 Connect
- Open HACS in Home Assistant.
- Search for go-e APIv2 Connect and download it.
- Restart Home Assistant.
- Open Settings, then Devices & Services, and add go-e APIv2 Connect.
- Choose a go-eCharger or go-eController when prompted.
- Enter the device’s local IP address or hostname.
- Complete the setup and assign the device to an area if useful.
A successful installation should leave you with a go-e device listed in Home Assistant’s Devices & Services area and a set of entities associated with it. Depending on the hardware and firmware, these can include charging state, electrical measurements, configurable limits and charging controls. Once the entities are updating correctly, you are ready to build dashboards or automations.
WebSocket or HTTP Polling?
APIv2 Connect can retrieve charger data through normal HTTP requests or use a persistent WebSocket connection. HTTP polling asks the charger for fresh data at intervals, while WebSocket communication can deliver changes over an already established connection.
| Method | How it works | When it makes sense |
|---|---|---|
| HTTP API v2 | Home Assistant requests updates periodically | Simple local monitoring and control |
| WebSocket | Updates travel over a persistent connection | Frequently changing data and responsive dashboards |
For APIv2 Connect, entering the charger password in the integration configuration enables its WebSocket implementation. Once WebSocket communication is active, routine updates no longer depend on the normal polling interval.
The project developer describes this WebSocket interface as undocumented by go-e. That makes it useful but more dependent on the community integration keeping pace with firmware changes. If WebSocket behavior stops after a charger firmware update, check the integration’s releases and issue tracker before rebuilding the configuration.
Solar Surplus Charging with Home Assistant
APIv2 Connect can use energy measurements already available in Home Assistant to support the go-e Charger’s own PV-surplus logic. A separate go-e Controller is therefore optional for this Home Assistant-based arrangement if you already have suitable grid measurements from another meter, inverter or energy-management integration. For the wider charging setup, see how PV surplus charging with go-e works.
Home Assistant supplies the measurements; the charger evaluates them using its own PV charging settings. Grid power is the key input. In the integration’s PV workflow, positive grid power represents electricity being imported from the grid, while negative grid power represents export. PV generation and home-battery power can also be supplied when available.
Check this sign convention before enabling the automation. If your energy meter reports a 2 kW grid export as positive 2 kW, for example, the value needs to be inverted before it is sent to the charger. Units matter as well: an entity reporting kilowatts must be converted correctly when the workflow expects watts.
Using the PV-Surplus Blueprint
The integration includes a dedicated PV-surplus blueprint that can work with different grid-meter arrangements and multiple PV or battery entities. It also provides sign inversion where required, making it safer than copying old templates containing entity names from another Home Assistant installation.
The project’s PV-surplus documentation says externally supplied energy measurements expire after about five seconds. The Home Assistant automation therefore needs to refresh them at least that frequently while this mode is in use.
The charger also needs the relevant PV charging options configured. These include the appropriate ECO and PV-surplus behavior and, where required, permission for charging pauses. Vehicle behavior during repeated stop-and-start charging can vary, so pause-related settings are worth testing carefully rather than treating them as universal defaults.
Using a go-e Controller Instead
A go-e Controller provides dedicated energy measurements within the go-e ecosystem and exposes its own HTTP, MQTT and Modbus interfaces. It can also be added to Home Assistant through APIv2 Connect.
The choice is mainly architectural. Using existing Home Assistant sensors avoids adding hardware solely for this workflow, while a go-e Controller provides a dedicated energy-management component that does not depend on Home Assistant automations to supply the same measurements. Reliability, existing hardware and maintenance preferences are more useful deciding factors than assuming either route is inherently required.
Useful Home Assistant Controls and Sensors
The entities exposed by APIv2 Connect vary with charger model, firmware and integration version, but useful categories can include charging status, instantaneous electrical measurements, current or power limits and configurable charging functions. These allow owners to build dashboards showing whether a vehicle is charging, monitor power flow and use supported settings in automations.
Some entities may be disabled by default. If a setting is missing from a dashboard, inspect the device’s full entity list before creating replacement template sensors. Entity IDs can also differ between installations, so automations should use the entities actually created for your charger rather than IDs copied from somebody else’s configuration.
Alternative and Advanced Setups
Single-phase and three-phase charging: compatible go-e hardware may expose phase-related controls. Single-phase operation can be useful with solar because the minimum charging current applies to fewer active phases, so the total power needed to begin or sustain charging can be lower than with three-phase operation. Actual switching support depends on the charger, electrical installation and vehicle, so phase automation should follow the capabilities and restrictions documented for the specific hardware. Installations combining solar production with household demand may also benefit from understanding solar EV charging load balancing.
MQTT: go-e also documents MQTT capabilities, and the community go-eCharger MQTT project provides another route into Home Assistant. MQTT is most attractive when a household already operates a broker and uses it for other energy equipment. APIv2 Connect is generally a simpler starting point when no MQTT infrastructure exists.
evcc and Node-RED: neither is required simply to connect a go-e Charger or provide basic solar-surplus data. They become more relevant when the installation needs broader charging coordination, several vehicles or chargers, or automation logic that extends beyond the charger’s own PV features and standard Home Assistant automations.
Troubleshooting
| Symptom | Likely cause | What to check |
|---|---|---|
| Home Assistant cannot connect to the charger | API v2 is disabled or the device is unreachable locally | Confirm local HTTP API v2 is enabled, verify the IP address and check whether VLAN or Wi-Fi isolation blocks access between Home Assistant and the charger. |
| The go-e app works but Home Assistant does not | The app may still be reaching a cloud service while local network access is blocked | Test local connectivity from the Home Assistant network rather than using app connectivity as proof that the local API is reachable. |
| WebSocket updates do not work | The charger password is missing, authentication failed or firmware behavior changed | Check the integration configuration and review current APIv2 Connect releases or issues if the problem appeared after a firmware update. |
| PV surplus charging reacts in the wrong direction | Grid import and export signs are reversed | Confirm that import reaches the charger as positive power and export as negative power. |
| PV values disappear or solar charging stops unexpectedly | The automation is no longer refreshing external measurements | Confirm that the PV-surplus automation is still running frequently enough to keep the charger’s supplied data current. |
| Energy values look unrealistically small or large | Watts and kilowatts have been mixed | Inspect the source entity’s unit and convert it before passing the value to the charger when necessary. |
| Charging does not resume when solar production returns | Data is arriving but the charger’s PV settings or vehicle behavior prevent a restart | Verify the live grid values first, then review the charger’s PV configuration and the vehicle’s response to charging pauses. |
Security and Reliability
Local API control reduces reliance on an external cloud connection, but the charger is still a network-connected device controlling a substantial electrical load. Keep Home Assistant and charger firmware maintained, use authentication where supported and avoid exposing the charger’s local API directly to the public internet.
HACS integrations also follow their own release schedules. Home Assistant, APIv2 Connect and go-e firmware can change independently, so important charging automations should fail conservatively. A loss of energy data or Home Assistant connectivity should lead to predictable charger behavior rather than an automation that repeatedly sends conflicting commands.
For solar charging in particular, start with a simple configuration and confirm each layer separately: Home Assistant receives accurate meter data, the integration delivers it to the charger and the charger responds according to its PV settings. For installations where household demand can approach the available electrical capacity, dynamic load balancing is another important part of charging control. That makes future troubleshooting far easier than combining phase switching, current changes, charging pauses and several automation platforms from the beginning.
FAQ
Is go-e APIv2 Connect an official Home Assistant integration?
No. It is a community-maintained custom integration distributed through HACS and is not an official go-e or Home Assistant Core integration.
Does a go-e Charger need internet access to work with Home Assistant?
Normal local API communication can operate across the local network without Home Assistant relying on the go-e cloud. Individual cloud-dependent charger features are separate from the local API connection.
Do I need a go-e Controller for solar surplus charging?
No, provided Home Assistant already receives suitable grid-power measurements that can be supplied to a compatible go-e Charger through APIv2 Connect. The go-e Controller remains an alternative dedicated energy-management option.
Do I need to add the APIv2 Connect repository manually to HACS?
The integration’s current installation instructions make it searchable directly through HACS, so manually registering the repository is generally unnecessary.
Does the charger password enable WebSocket mode?
In APIv2 Connect, the charger password is used for WebSocket authentication, and supplying it enables the integration’s WebSocket communication.
Bottom Line
For a compatible go-e Charger, the cleanest Home Assistant setup is to enable local API v2, install go-e APIv2 Connect through HACS and add the charger using its local network address. WebSocket communication is useful when you want push-style updates, while ordinary HTTP communication is adequate for simpler installations.
For solar charging, concentrate on getting the energy data right before adding more automation. Confirm the grid import and export direction, use consistent power units and keep the externally supplied values refreshed. Home Assistant can provide the measurements while the go-e Charger handles its own PV-surplus decisions, with a go-e Controller, MQTT, Node-RED or evcc available when the wider installation genuinely benefits from them.
Source Transparency
This article was checked against the go-e Charger API v2 documentation, the go-e Controller API documentation, go-e’s support and documentation pages, and the documentation for the independent go-e APIv2 Connect Home Assistant integration. Firmware requirements, Home Assistant interfaces and community integration behavior can change, so version-specific setup details should be checked against those project pages when installing or troubleshooting.