go-e Charger Setup Guide 2026: How to Connect & Configure via App Hotspot
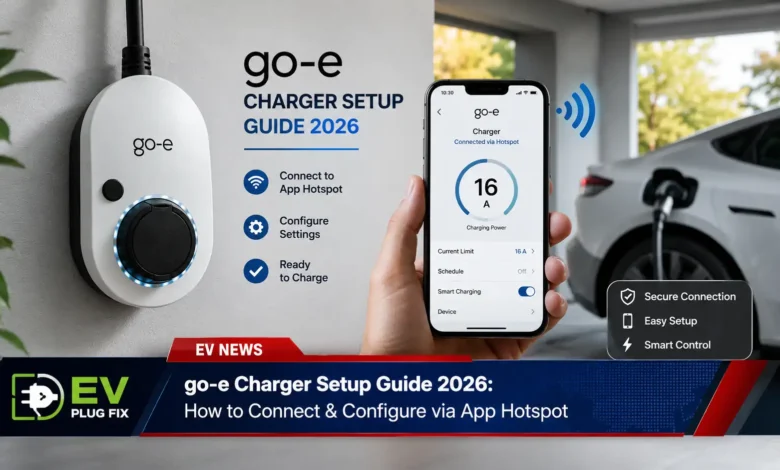
The go-e charger setup process begins with a single, straightforward step: adding your device inside the go-e app. This 2026 guide walks you through every action needed to connect your go-e wallbox to the app, complete the initial configuration, and integrate it with your home network. We break down both the standard hotspot method for new chargers and the process for adding an existing charger to a secondary device. This step-by-step approach mirrors the official go-e app workflow, giving you a clear path from unboxing to your first charge.
What You Need Before Starting a go-e Charger Setup
Preparation is key for a smooth go-e charger setup. Before diving into the app, gather the essential items that come with your device. The go-e reset card is the most important accessory for this process . This card contains all the crucial access data required to pair your charger with the go-e app, including the:
- Serial number of the go-e charger
- Hotspot SSID (WiFi hotspot name)
- Hotspot key (WiFi hotspot password)
- QR code for automatic connection to the hotspot
Step-by-Step go-e Charger Setup via the App
The go-e charger setup process in the app begins after you’ve downloaded the official go-e application from your app store. The connection between your smartphone and the go-eCharger can be established locally via the charger’s hotspot or by integrating the wallbox into an existing WiFi network . For first-time configurations, the hotspot method is the standard approach.
1. Add Your go-e Charger in the App
Open the go-e app and tap the “+” symbol located at the top right corner of the main screen . This action initiates the go-e charger setup routine and presents you with two distinct choices:
- Setup for a new go-e Charger — This option is designed for a charger that has not yet been “taught” or configured. It guides you through the initial pairing and setup process.
- Add a go-e Charger that has already been set up — Use this option if you accidentally deleted a charger from your list or if you want to add the charger to a family member’s smartphone .
In both cases, you must accept the terms and conditions before proceeding. This ensures compliance and acknowledges the operational framework of the go-e charger.
2. Connect Your Phone to the Charger’s Hotspot
When you select the initial setup option during your go-e charger setup, the app will prompt you to connect via the charger’s hotspot. You can accomplish this in one of two ways:
- Scan the QR code on the reset card to connect automatically .
- Connect manually through your mobile device’s WiFi settings by searching for the hotspot name (SSID) and entering the hotspot password (key) from the reset card .
Once connected, return to the go-e app. The app will automatically detect the connection and display a “Next” button, usually within a few seconds, confirming that you are linked to the charger’s internal WiFi.
Mid-Article: Advanced go-e Charger Setup Features
After the initial go-e charger setup via hotspot, you unlock a range of advanced capabilities. The go-e charger offers various online interfaces and supports OCPP (Open Charge Point Protocol), enabling communication with third-party energy management systems and solar integration . To fully leverage these capabilities, understanding EV Load Shifting Strategies can help you optimize your charging schedule and reduce energy costs.
Configuring OCPP During go-e Charger Setup
Many EV owners perform an advanced go-e charger setup to enable OCPP for smart charging features. This allows your charger to communicate with external platforms and optimize energy usage . For those interested in solar integration, pairing OCPP with PV Surplus Charging enables you to charge your EV using excess solar energy, maximizing your renewable energy investment.
| Configuration Step | Action Required | Details |
|---|---|---|
| Navigate to Settings | Open the go-e app and go to the menu [Settings] | Locate the connection or OCPP section |
| Access OCPP Menu | Press on [Connection], then press on [OCPP] | This is where you configure the backend server URL |
| Enter Server URL | Add your OCPP Server URL and activate OCPP | For public internet, use wss://cloud.northe.app/ |
| Complete Integration | Save settings and restart if necessary | The charger will appear as an OCPP connector in your platform |
During this go-e charger setup phase, ensure your charger is connected to the internet via WiFi, Ethernet, or SIM card for the OCPP settings to take effect .
Connecting Your go-e Charger to WiFi
While the go-e charger setup begins with a local hotspot connection, completing the setup requires connecting the charger to your home WiFi network. The go-e app allows you to change WiFi settings, adjust the hotspot password, and customize the device name . Once the charger is connected to WiFi, you can access and control it remotely via the go-e Cloud .
The go-e app is the central control hub for your charger setup. It provides detailed information on the charging status, allows you to adjust basic and comfort settings, and monitor the amount of electricity charged .
Understanding Authentication Options
A key part of the go-e charger setup involves deciding how users will authenticate to start a charging session. The go-e system offers multiple authentication methods:
- RFID Authentication: Use the provided RFID token to unlock the charger by holding it against the RFID symbol on the device .
- App Authentication: Start or stop charging directly from the go-e app using the start/stop button on the ‘Charger’ tab .
- Cloud Authentication: For advanced setups, use RFID tags stored in the cloud via the go-e Portal .
During go-e charger setup, you can link multiple RFID tokens to the charger, rename them, and track energy consumption per user — a valuable feature for households with multiple EV drivers or shared charging points .
Firmware Updates for Optimal Performance
Completing your go-e charger setup with the latest firmware is essential for optimal performance and access to new features. The go-e app allows you to download and install firmware updates for the go-eCharger . When setting up OCPP, ensure your charger has at least firmware version 055.0 or the version recommended by your OCPP provider . If you encounter errors during this process, referencing our EV Charger Error Codes guide can help you quickly diagnose and resolve common issues.
If you experience issues during or after the go-e charger setup, checking the firmware version is a recommended troubleshooting step. While version 60.0 introduced some reported problems, many users have found stability with version 59.4 or earlier .
go-e Charger Setup for Multiple Users
One of the advantages of the go-e charger setup is the ability to add the charger to multiple smartphones. If a family member wants access, you can simply add an already configured charger to their device using the second option during the setup process .
For commercial applications or large-scale go-e charger setup, consider using the go-e Portal. This web-based platform is ideally suited for remote configuration of multiple chargers at once, applying shared settings across devices — making it perfect for fleets or commercial installations .
Finalizing Your go-e Charger Setup
After completing the go-e charger setup through the app and verifying the internet connection, your go-e charger is ready for daily use. The basic functionality of the go-e charger can be used without any app or backend , but the setup process unlocks advanced features including:
- Remote monitoring and control via the go-e Cloud
- Dynamic load management and PV surplus charging with compatible controllers
- Integration with energy management platforms through OCPP
- 1-phase/3-phase switching for optimized charging
By following this comprehensive guide, your go-e charger setup will be complete, and you’ll be ready to enjoy efficient, smart EV charging at home or at your business.